

Clipping masks in Adobe Illustrator are a powerful tool that allows you to control the visibility of certain parts of an object or artwork. By creating a clipping mask, you can confine the visibility of one object to the shape of another, giving you endless creative possibilities.
Here are some reasons why clipping masks are considered versatile:
- Controlling Object Visibility: Clipping masks allow you to define the visibility of objects based on the shape of another object. By using a shape as a mask, you can confine the visible area of objects within its boundaries. This feature enables you to create complex compositions, hide unwanted parts of an object, or focus attention on specific areas.
- Non-Destructive Editing: One of the significant advantages of using clipping masks is that they are non-destructive. This means that the original objects remain intact and can be edited independently of the mask. You can easily modify the mask shape, move objects within the mask, or even replace the masked objects without permanently altering the underlying artwork.
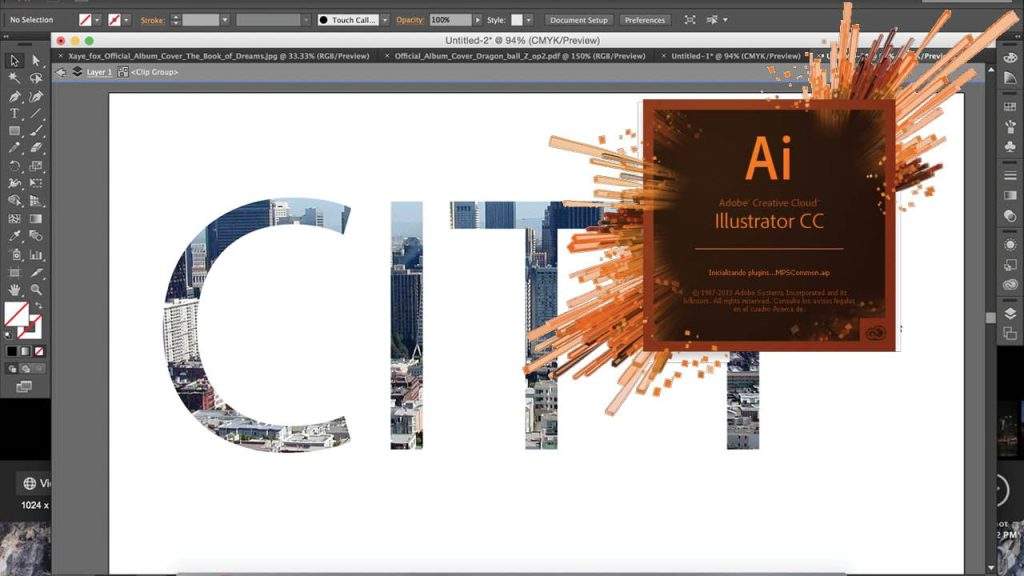
- Flexibility with Mask Shapes: Clipping masks allow you to use various shapes as masks, including basic shapes, custom shapes, text, or even other complex objects. This flexibility gives you the freedom to experiment and create unique effects. For example, you can use text as a mask to fill it with an image or apply gradients within a specific shape.
- Layering and Depth Effects: By stacking objects and applying clipping masks to them, you can achieve layered and depth effects in your illustrations. Objects placed above the mask will appear within the visible area defined by the mask, while those outside the mask will be hidden. This layering capability enables you to create intricate compositions and add depth to your artwork.
- Blend Modes and Transparency: Clipping masks work in conjunction with blend modes and transparency settings, allowing you to further enhance your designs. By adjusting blend modes, you can change the interaction between masked objects and the underlying artwork, resulting in different blending and overlay effects. Additionally, you can control the opacity of masked objects to achieve transparent or translucent elements.
- Easy Modifications: Clipping masks in Illustrator offer flexibility when it comes to modifying the masked objects. You can easily select and edit individual objects within the mask independently, apply transformations, adjust colors, or add effects. This makes it convenient to make changes to specific parts of your artwork without affecting the rest.
How to do a clipping mask on ai?
Clipping masks are a versatile tool in Adobe Illustrator, allowing you to control the visibility of objects and create interesting effects. In this section, we will walk you through the steps to create a clipping mask in Adobe Illustrator.
Open Adobe Illustrator and Import or Create Objects
Open Adobe Illustrator and Import or Create Objects Launch Adobe Illustrator and open the document where you want to create a clipping mask. If you have existing objects or artwork that you want to use, you can import them into the document by going to the “File” menu and selecting “Place” or by dragging and dropping the files directly onto the canvas. Alternatively, you can create new objects within the document using the various drawing tools available in Illustrator.
Arrange the Objects
Arrange the Objects Once you have imported or created the objects, arrange them in the desired order. The bottom object will act as the clipping mask, so ensure that it is positioned below the objects you want to clip. The shape and size of the bottom object will determine the area of visibility for the objects above it.
Select the Objects
Select the Objects To create a clipping mask, you need to select both the bottom object (the one you want to use as the clipping mask) and the objects you want to clip. You can do this by using the Selection Tool (V) from the toolbar. Click and drag over the objects to select them. You can hold the Shift key while clicking to select multiple objects.
Create the Clipping Mask
Create the Clipping Mask With the objects selected, go to the “Object” menu at the top and choose “Clipping Mask” > “Make.” Alternatively, you can use the keyboard shortcut “Ctrl+7” (Windows) or “Command+7” (Mac) to create the clipping mask. Once you do this, the objects above the bottom object will be confined to its shape.
Edit the Clipping Mask
After creating the clipping mask, you can further refine it if needed. To edit the mask, select the “Direct Selection Tool” (A) from the toolbar and click on the mask itself (the bottom object). This will display the anchor points and handles of the mask shape, allowing you to make adjustments. You can move the anchor points, adjust their handles to modify the shape, or use the transformation tools to resize or rotate the mask. Any changes you make to the mask will affect the visibility of the objects within it.
Release the Clipping Mask
If you want to remove the clipping mask and revert the objects to their original state, you can release the mask. To do this, select the objects that are currently masked (including the bottom object) and choose “Object” > “Clipping Mask” > “Release” from the menu. Alternatively, you can use the keyboard shortcut “Ctrl+Alt+7” (Windows) or “Command+Option+7” (Mac) to release the clipping mask.
Clipping masks in Adobe Illustrator are a valuable feature for controlling the visibility of objects and creating interesting effects. By following the steps outlined in this blog post, you can easily create and modify clipping masks in your Illustrator projects. Experiment with different shapes and combinations to unlock the full potential of this powerful tool. Happy designing!